
Started with cleaning out the garage and a pile of 40 or so old skateboards from my roommate who was a coach for awhile and would hold onto all the kids old skate decks. There is a bunch of info online about how to work with old skate decks if interested in creating something to this order. These sculptures are very impressive by Haroshi.
- The basic approach is to first remove the grip tape, using a combo of hair dryer to heat the grip tape up and a razor blade to help peel is the general concept. Try and remove grip-tape as one large sheet, depending on age/abuse some are easier then others…
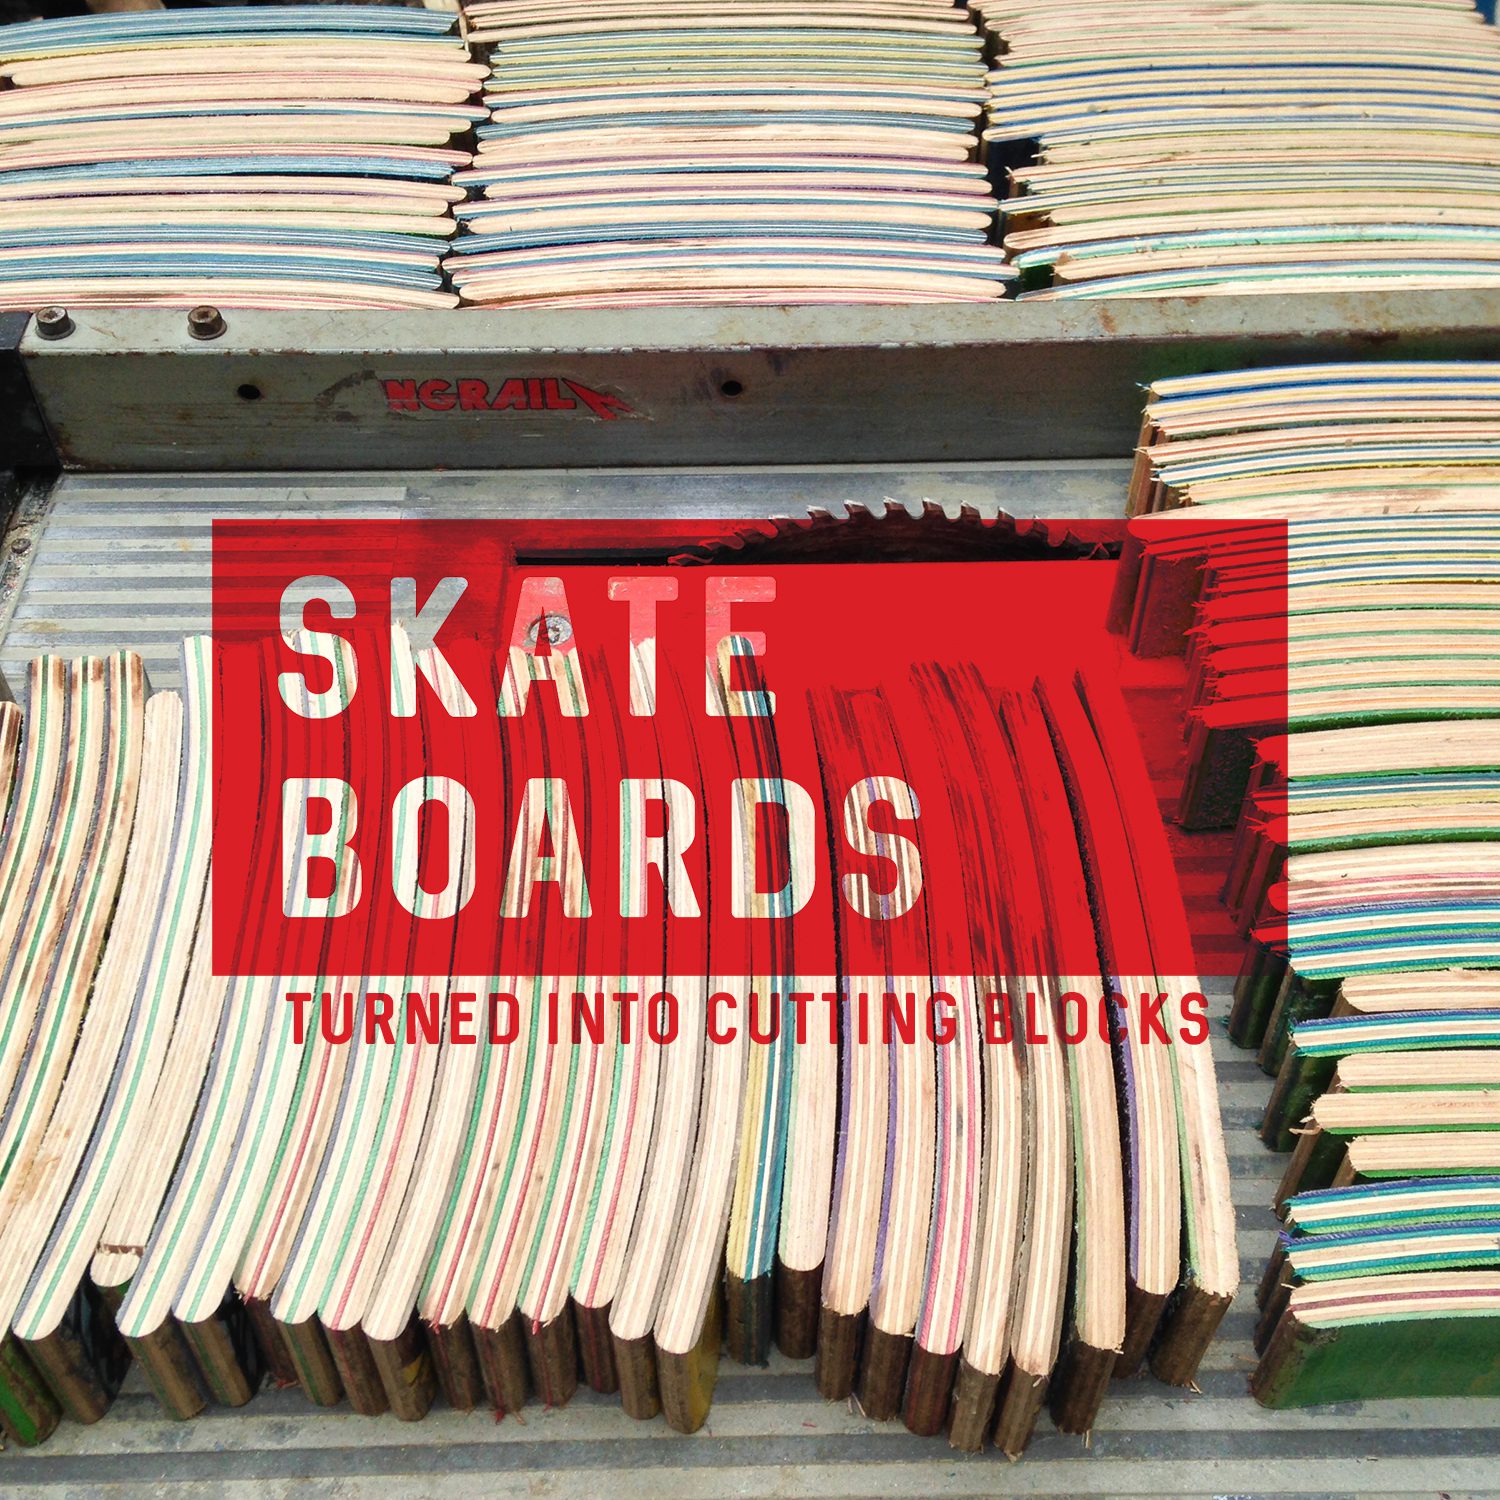
- Using a circular saw cut off the nose/tail of the boards past the truck bolt holes. Rip remaining center into strips, I ripped mine at 1.25 inches accounting for sanding.
- Roughen both top and bottom of board with sandpaper and then apply glue and clamp. Because of the convex shape of the boards I did a dry run previously trying to align interesting colors and match concaves to reduce gaps during gluing/clamping.
- Leave clamped for 24/48 hrs – clean up glued surface using a belt-sander.
- With the circular saw again cut off the edges of the glued boards to reveal the layered wood colors and finish sand.
By no means was I in a rush during this project but with 40 decks as raw material and only 5 steps to explain the process it definitely took some time.
Here are 2 videos of another project that took a little time!
Cuba Skate Time-lapse from Christopher Lisle on Vimeo.
CUBASKATE X LISLE from Christopher Lisle on Vimeo.